
Imagine this. You’re ready to repaint your living room or liven up your master bedroom with a standout accent wall. Great! You take a visit to your nearest home improvement store, navigate your way to the paint section and BOOM. You are overwhelmed with hundreds of paint options. Name brand after name brand and an endless amount of colors anxiously await your decision. So how do you choose?
- Choose the Sheen
Before all else, you have to determine what kind of finish, or sheen, you want on your walls. It’s said that the higher the sheen, the higher the shine. And higher sheen means more durability. To determine the sheen you need for your DIY interior paint project, you first need to think about the room itself. Is it a high-traffic area (kitchen or family room)? If so, consider paint with a higher sheen like high or semi-gloss finish. But if you’re painting a dining room or bedroom, lower-traffic areas, look into paint with an eggshell or matte finish.
- Live In Color
Now the fun part – choosing your room’s color. What kind of vibe are you going for? Warm and cozy? Stick to deep, calm colors like earth tones – think beige or blue or gray. Are you thinking something more bright and exciting? Try bright yellows or pastels. Take several samples of the options that drew you in and try them out. Paint small squares on the wall(s) to be painted and see how they make you feel. And don’t fret – there are literally hundreds of thousands of options so find the one you’ll be happy with. Better to spend a few bucks on several colors rather than big bucks on gallons of the same color only to find out you’re disappointed with your choice.
- Fight For That Inch
After you’ve chosen your color, measure the walls in the room you’re repainting. Trust us, there’s nothing worse than getting the first coat painted only to realize you have to go back to the store. Add up all the square footage of the walls in the room – don’t forget about alcoves, dormers, etc. and then add a little extra (better to overestimate than underestimate). You’ll need two coats of primer and two coats of paint, so keep that in mind. It’s also good to have some leftover paint should you ever need to touch it up. The paint professional at the home improvement store will be able to guide you through how much paint and primer you’ll need for your project.
- It’s Prep Time
So many people refuse to prep the room because of the extra time and effort and because they’re so ready to get the room painted. But don’t skip this step. It’s essential for sharp lines and limited errors. First, remove any and all furniture, doorknobs and light switch covers. Then, tape everything off ensuring the walls, light switches and doors are properly done.
- Prime Time
Unless you’ve bought a paint that includes primer, you’ll have to prime the walls with two coats before you get started with the paint. Primer is essential especially if the color of the walls is drastically changing (consider tinted prime if this is the case). Primer covers up old paint and stains but also allows the first coat of paint to stick better and longer.
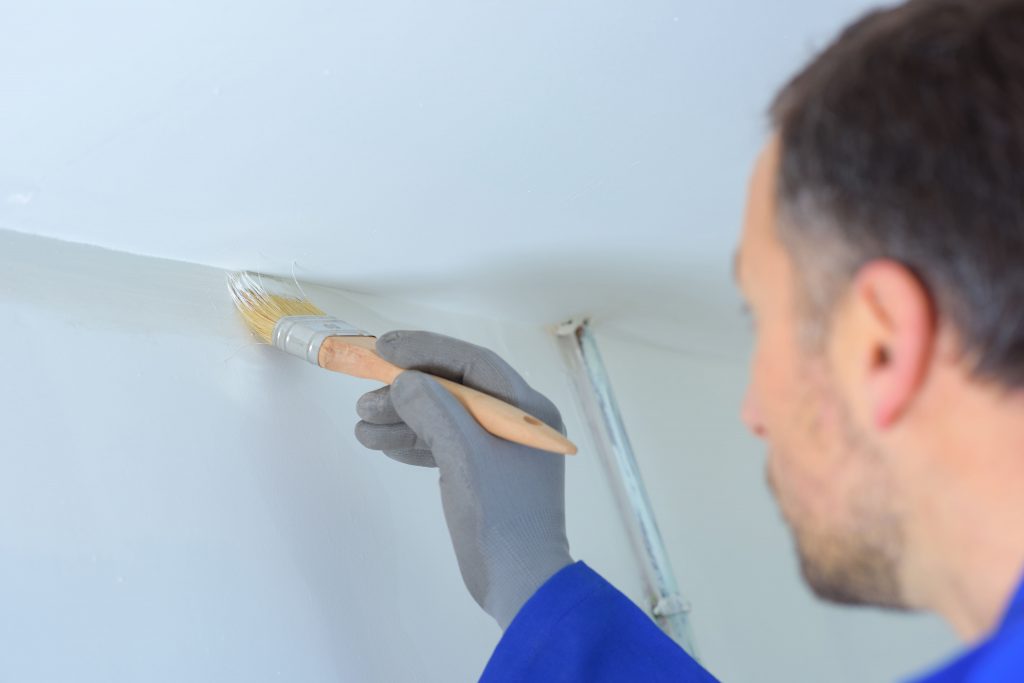
- Go To The Corner
Start with the corners of the room and around any windows or doors. This makes it so much easier when you bring out the paint roller. Use a smaller brush for simpler strokes and tight areas. It’s good practice to start at the corners and work your way out several inches, that way you don’t have to worry about nicks or overlap with the roller.
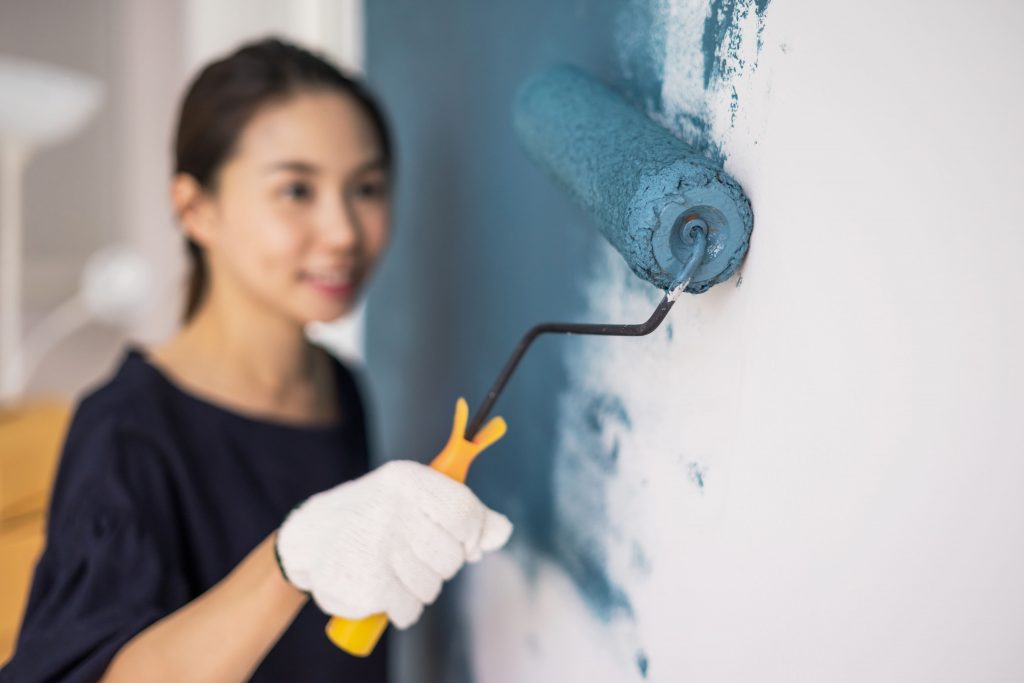
- Roll, Roll, Roll Your Coat
Paint rollers save so much time and are so much easier to use than brushes. For taller walls or high ceilings, check out paint roller extension poles. Sometimes you’ll be able to avoid climbing up and down a ladder when you have the right equipment.
- You’re All Done!
Painting a room can seem daunting but there’s so much satisfaction in walking into a freshly painted room knowing you did it yourself. So take a load off, sit back and admire the hard work you put in. You earned it!