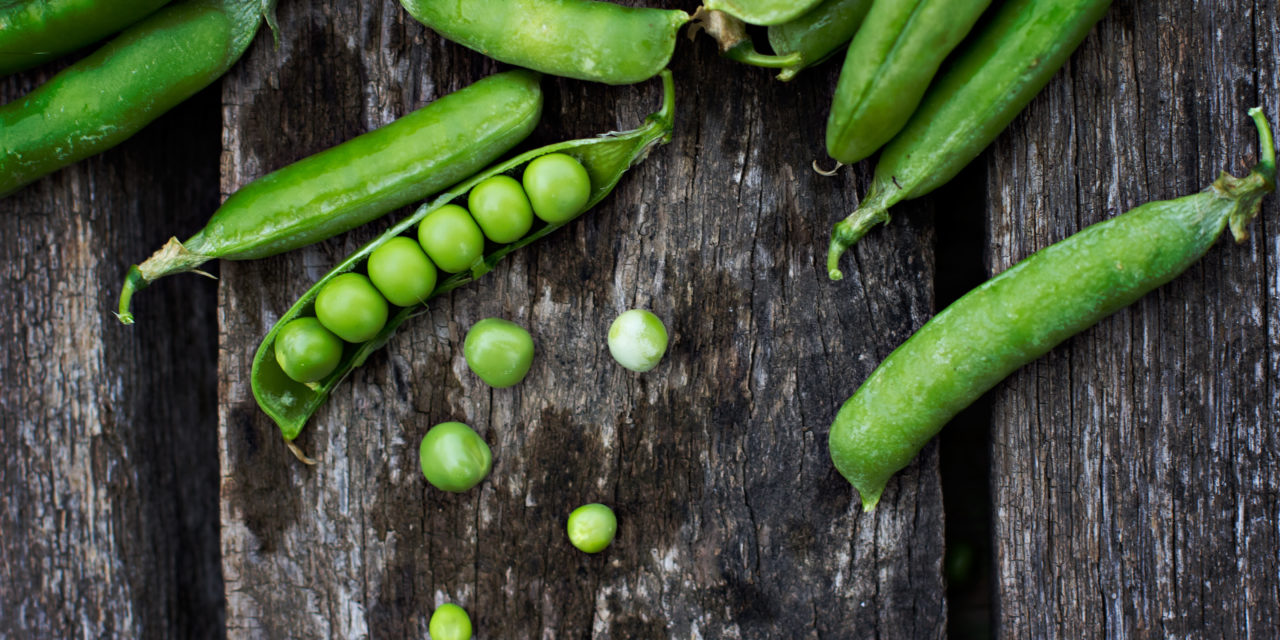
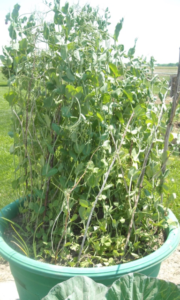
 Have you ever eaten freshly picked peas or sugar pea pods? Eaten raw in salads, there are few garden delights as tasty as sugar pea pods or fresh peas in cream sauce. The trick to delicious garden peas is planting them early, early in spring. This is one reason container gardening has become so popular. The soil in a container heats up quicker and dries out faster than the lower lying garden plot, allowing for earlier plantings.
There are three major types of peas: green peas (or English peas) the edible-pod cultivars grouped as snow pea pods and the sugar snap peas that you allow to fill out and eat pod and peas together.
While the yields for the edible-pod varieties are smaller, their delicate flavor and crisp texture makes them well worth the garden space. Few sugar snaps make it to my kitchen for cooking as most of them are eaten raw as fresh garden candy!
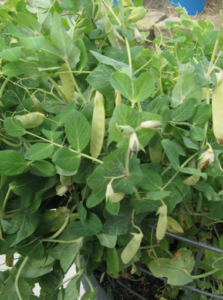
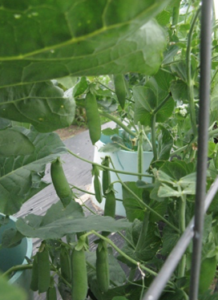
Both green peas and sugar snaps come in tall-vined and dwarf varieties. Dwarf peas require no support while the tall-vined need trellising. I gather tree branches that work well for support as with that extra help, the tall-vined peas will yield a bounteous harvest. All forms of support such as chicken wire or plastic mesh should be installed when the peas are planted. I left cattle panels up last fall knowing that my crop rotation schedule would allow me to plant peas down the side of the cattle panel which made a great support.
 Peas are extremely susceptible to heat and will stop maturing when the temperature climbs regularly above 70 degrees F. In our zone, plant early variety (55 day cultivars) for best results. But if you shade them and plant heat-resistant varieties, you may have get a harvest with successive plantings.
The pea seeds available at Buchheit are treated with a fungicide that prevents pea rot in cold soil. Make sure to keep the treated seeds away from children and pets.
In the fall, I try to prepare an area for peas so that I can turn it over easily in spring. I add compost to the soil as well as a sprinkling of wood ash. Dig a furrow 2 inches deep, 3 to 4 inches wide. Before you plant your seeds, you might want to dust the seeds with a soil inoculant which is a nitrogen-fixing bacterial culture that increases the plants’ ability to add nitrogen to the soil. Buchheit carries them in their seed section. I used to never use them but after seeing my yields increase, I go the extra expense gladly.
 Sow the seeds 1 inch apart and 2 inches deep. When the seeds get to about 3 inches tall, hoe around them, mounding the soil around the stems for support. When the plants are 6 to 8 inches tall, amend the soil with fertilizer (if you do not use the inoculant). If the plants start pulling away from the trellis, tie them up with soft cloth strips or garden twine.
There are a few things to be on the lookout for when growing peas. Peas are susceptible to powdery mildew during cold wet springs but it can be treated with wettable sulfur. Sulfur products have been used for centuries to treat this disease but it is only effective when applied before disease symptoms appear. Biological fungicides may also be used.
Aphids spread pea mosaic, a killer virus for which there is no cure, making it imperative that you wash the aphids off with water, but try to time it so the plants have time to dry before evening.
Root rot may hit when the plant is flowering reducing yields. There is no cure for root rot but having a soil test for pH before you start and bringing the soil into a balance of 6.5 to 7.0 may prevent it. Especially if you are container gardening, try to avoid soil compaction. Healthy roots are the solution to root rot and they need room to grow.
My biggest mistake with harvesting peas is due to greed. I want every last pea to plump up before I harvest and my reward for waiting is usually rock hard pebbles instead of soft sweet peas. So please pick your peas promptly! Just one or two days too long will turn juicy peas starchy. I hope you plant peas this spring! Be blessed! Anne May