
Are you new to gardening? The top vegetable (which is technically a fruit) that everyone wants to grow is tomatoes. Today I would like to take you through my method for planting tomatoes. There are many ways to plant them but I have been planting them for over 40 years and I want to share my best tips for successfully growing tomatoes. Sometimes, conditions like last year’s deluge of rain make it next to impossible to produce a descent harvest but hope springs eternal in the heart of gardeners so it’s get started on how to grow some great tasting “fruit” this year.
Step One: Selection of the proper varieties that will meet your needs. I plant both indeterminate and determinate tomatoes. I just wrote a posting on what this term means so I hope you will read it. I plant Roma, a great juice determinate tomato that will set most of their fruit in two weeks for canning and Beefsteak, Ruthers and German Giants indeterminate tomatoes that will set fruit until the first frost for eating and dehydrating. Buchheit has an amazing selection of all the top hybrids and heirlooms tomatoes plants, including extra-large plants at a great price.
Step Two: After you bring your plants home from Buchheit, set them in a shady spot and make sure they are well watered as you prepare the soil in the garden.
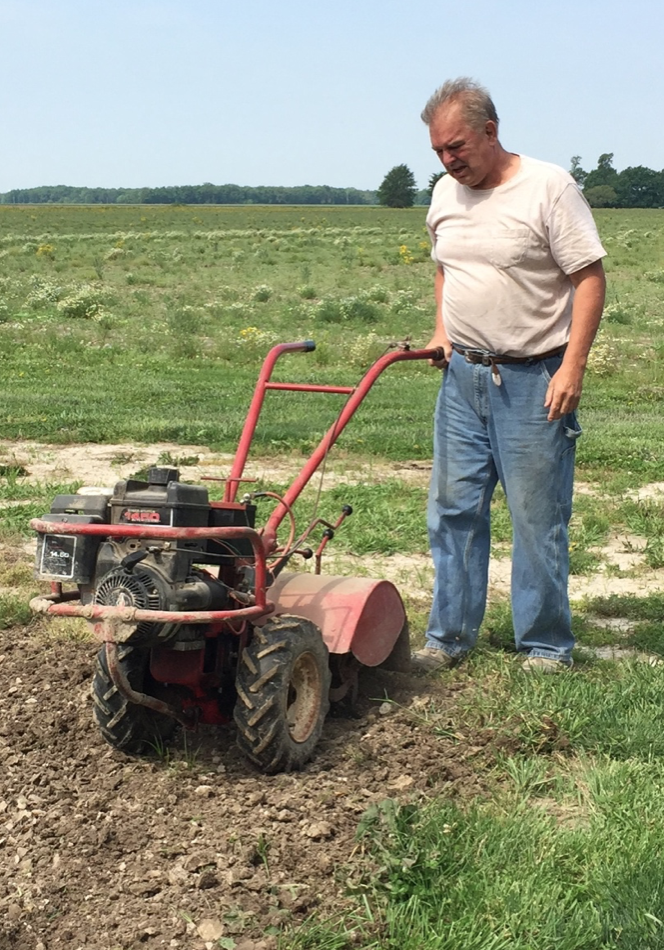
Here is Jim re-tilling our small garden patch following weeks of heavy rain. He works it up easily since he has a great tiller. Yes, Buchheit has an entire line of tillers. It is still a little cool to plant as tomatoes like the soil temperature to be at least 60 degrees F but I plan on warming up the soil by covering with a ground cover and mulch.
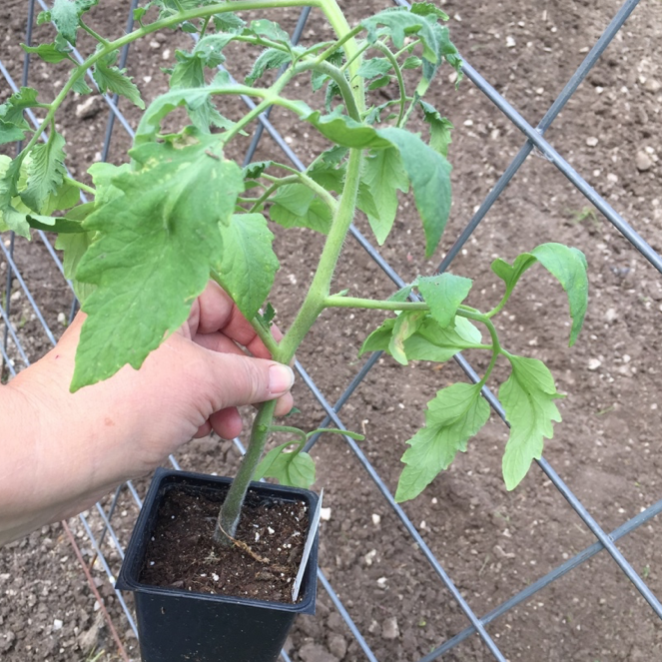
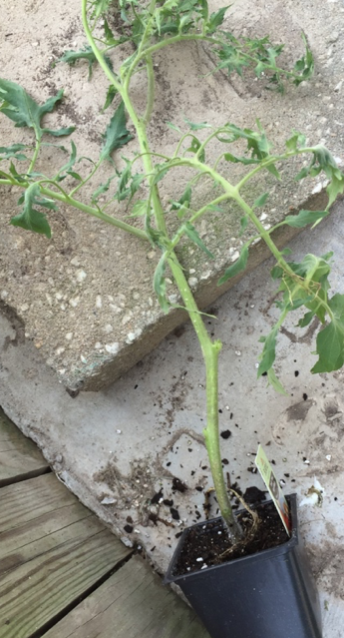
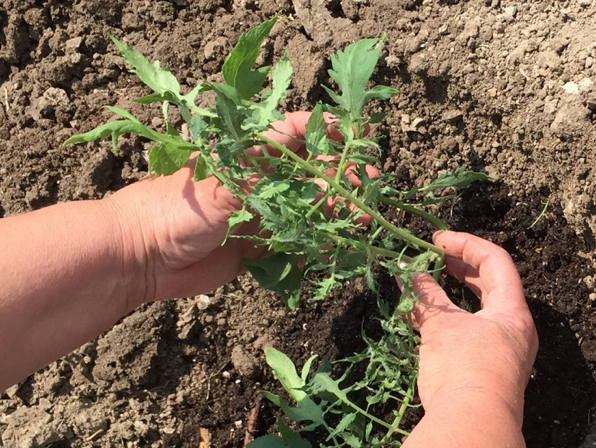
Step Three: Strip the bottom leaves from the tomato plant. I know this may seem counterproductive but I am going to bury the majority of this plant under the soil. Why? Tomatoes need a great root system and they will start new roots down that entire striped stem making the plant much more able to take in nutrients and water.
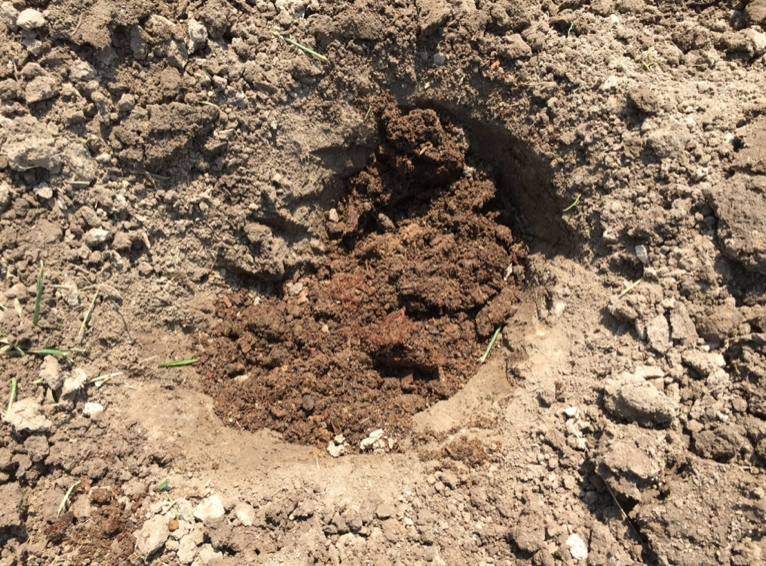
The key to a great harvest is filling the hole I dig with garden gold, compost. Can you see the difference between the color of the soil and the compost? My topsoil is also deeper as I have been working on soil development as the major key to healthy plants in an organic setting.
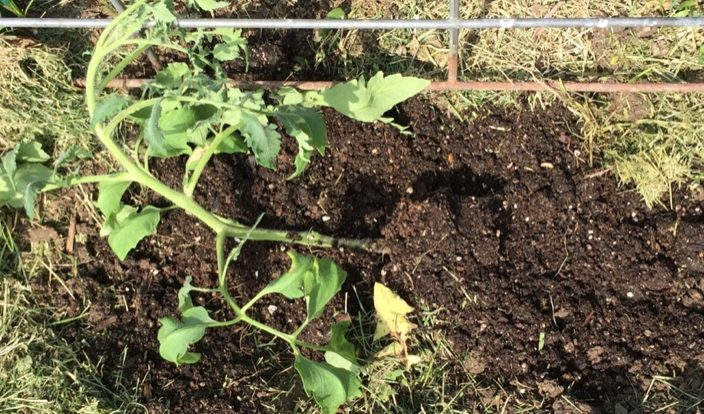
Step Four: Add compost, lay the plant in the hole, you can either dig it very deep and set the tomato straight down into the hole or dig a more shallow longer hole and lay the plant on it’s side. Either way, gently, gently cover the plant with soil and allow only the top section with leaves to remain above ground.
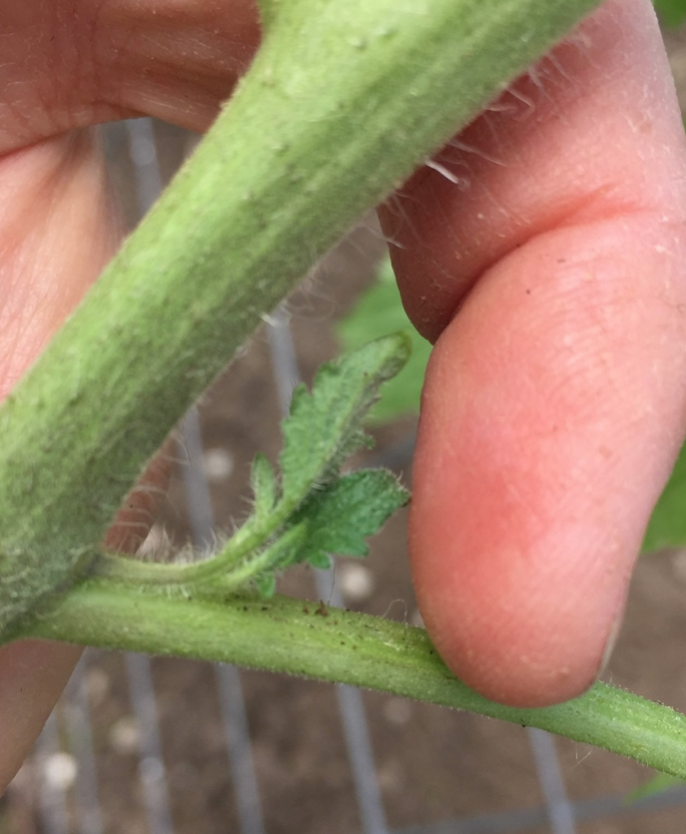
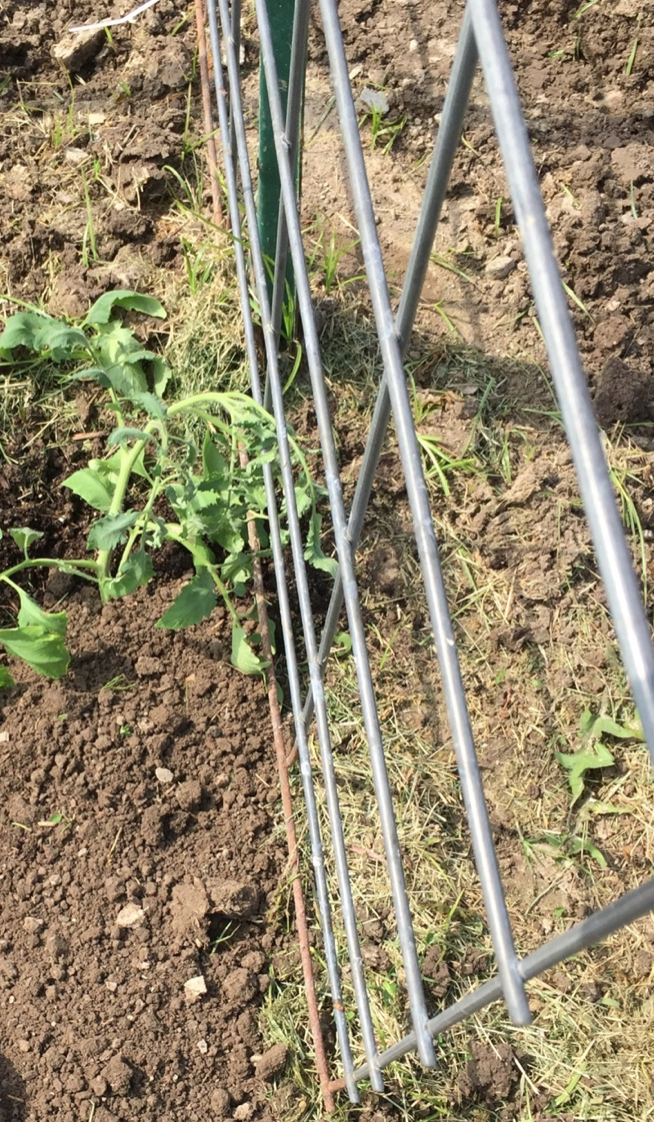
Step Five: Decide if you are staking or sprawling. I am using a cattle panel for five plants and I am going to try sprawling for the first time. With staking, I will have to keep a watch out for suckers (new stems) found at the branch of the new growth. They must be removed to promote good growth for the main stalk.
Sprawling (allowing the plants to just go where they want to without any form of cage or staking) is supposed to be the most productive method of growing tomatoes. We will decide it together as I have planted two Romas at the end of my garden to sprawl.
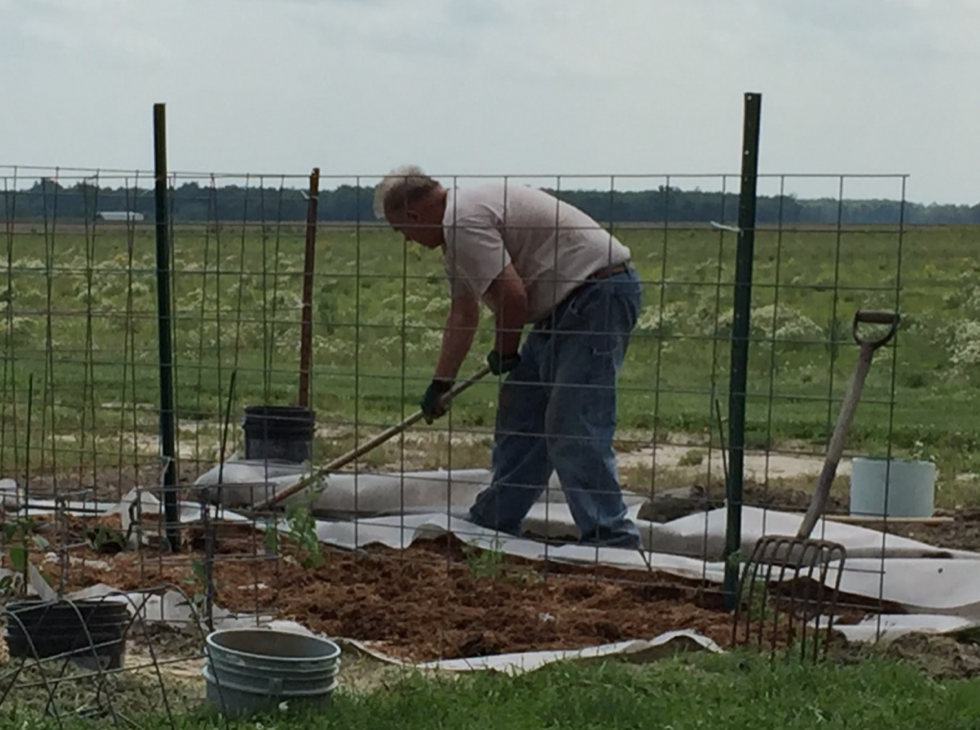
Last Step for our cool spring: Jim laid down some landscaping fabric and mulch we had available to help get the ground temperature up to 60 degrees. It will not hurt the plants as the weather heats up but will rather hold in the moisture. It was labor intensive but should be worth the effort if we get some great tasting tomatoes. Hope this is helpful as you start your journey into gardening. I would love to hear from experienced gardeners who would like to share their tips on how to grow the best tasting tomatoes. Be Blessed! Anne May


thanks for the step by step instructions – easy to follow!