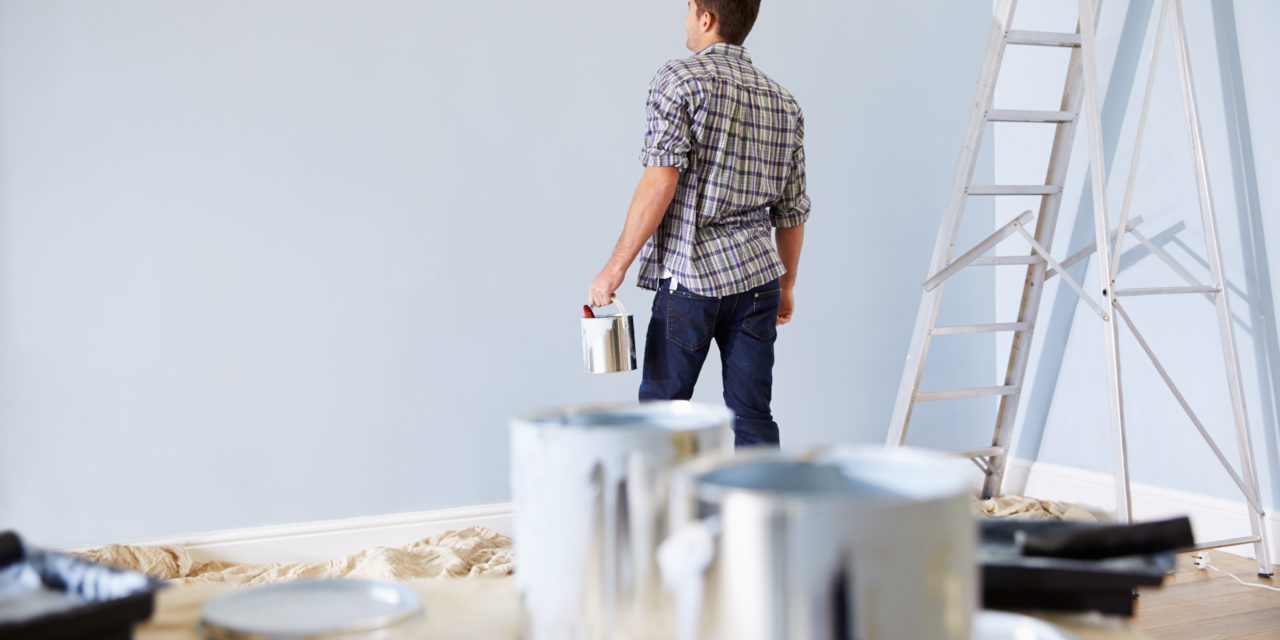
To get the best results when painting, you need to spend time before you start properly prepping the room and the walls. It makes all the difference, and with this tutorial video, you can have professional-looking results and the pride of knowing you did it yourself.
Tools needed: drop cloth, 5-in-1 tool, painter’s masking tape, bucket, sponge, dust mask, painter’s tool, putty knife, spackling compound, drywall joint compound, trisodium phosphate (TSP), rubber gloves, tack cloth, caulking gun, acrylic latex caulk, additional lighting, step ladder or stool, shop-vac, blade knife, rags, sanding sponge, sandpaper, and primer
1. Spread a large drop cloth along the floor to protect it.
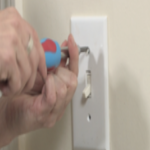
2. Take off all light switch and plug outlet covers.
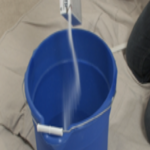
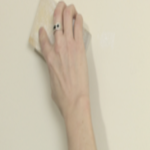
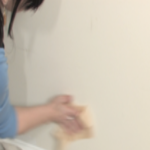
3. Prepare cleaning solution – mix water & a little of (TSP). Dip sponge.
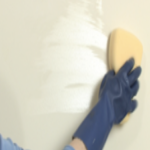
4. Wring the sponge out well & gently wipe the walls. Have a rag ready to catch drips and excess water. Repeat process with clean water.
5. Remove nails and cover nail holes with spackling or drywall joint compound.
6. Give the entire wall a light sanding. This ensures a smooth surface.
7. Remove dust with a tack cloth.
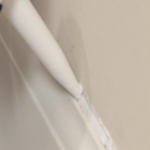
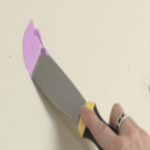
8. Caulk any gaps between the wall and baseboards or window and door casings. Use an acrylic latex painter’s caulk.
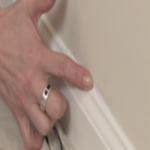
9. Wipe finger along the caulk to smooth it out. Use a painter’s tool and a rag for tight places.
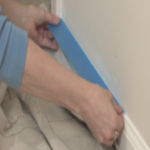
10. Mask along the horizontal areas of all wall surfaces, especially along baseboards and window and door casings. Sides are optional depending on skill level.
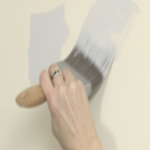
11. Spot prime in trouble areas, such as heavy stains or repaired holes. It’s best if the prime color is the same or similar in color to your paint.
For more tips visit buchheitonline.com/howtovideos